REKA Otomatik Yapı Teknolojileri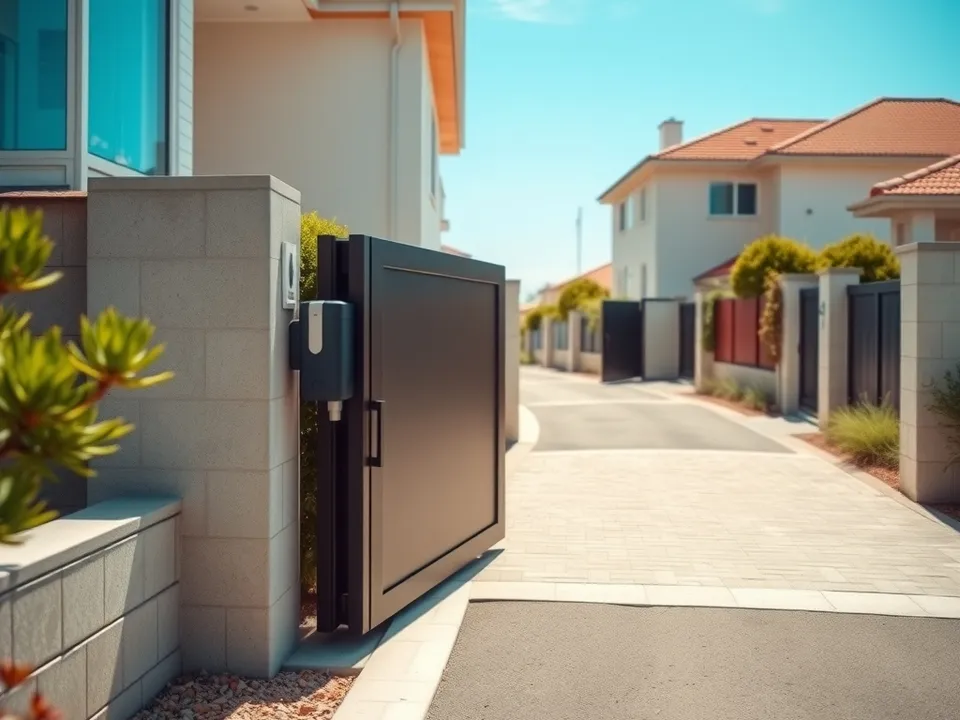
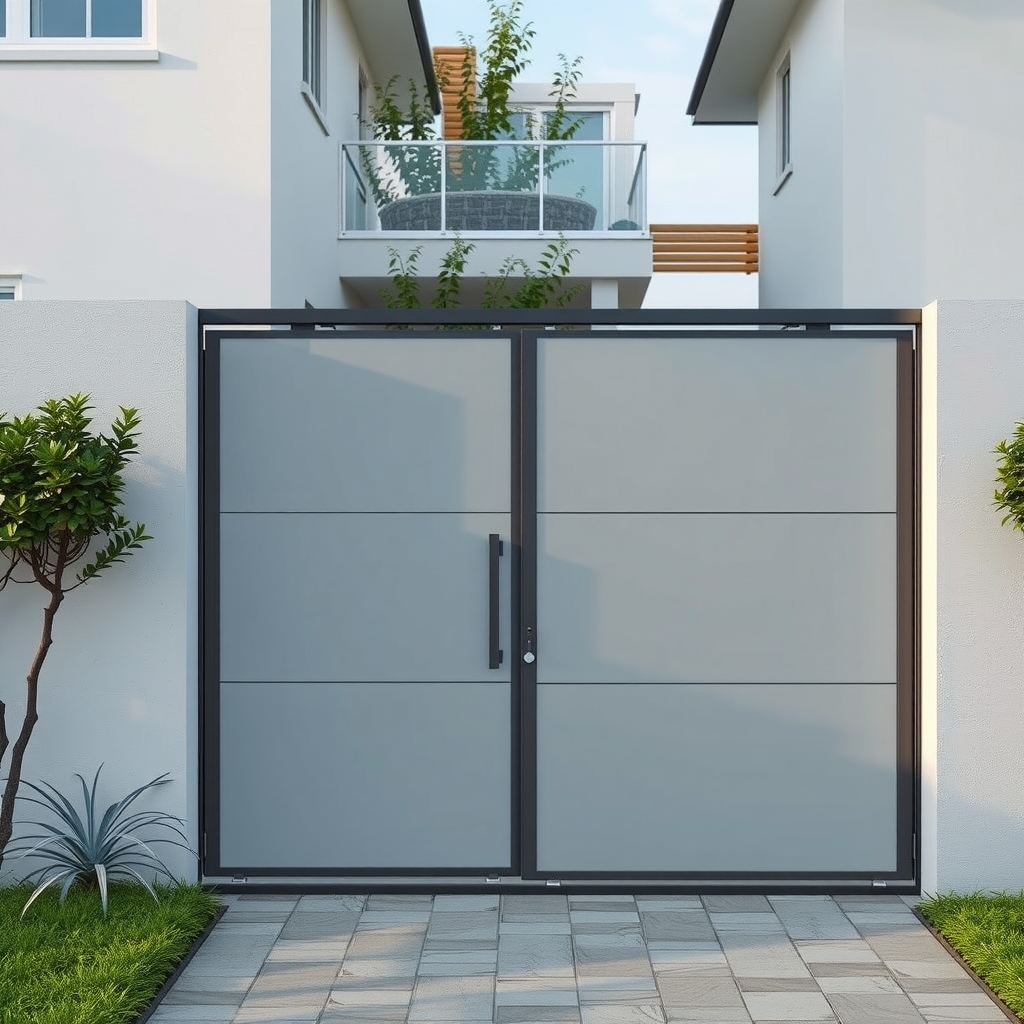
Once you decide to have an automatic garden gate or garage door installed, how does the process work? When is the site survey done, what preparation is needed, and what is tested after installation? In this article we walk through the automatic gate installation process step by step, from survey to handover. Knowing the process clarifies your expectations and helps you ask the right questions.
1. Initial consultation
The process starts with you describing your needs. Sharing the following information at this stage speeds things up:
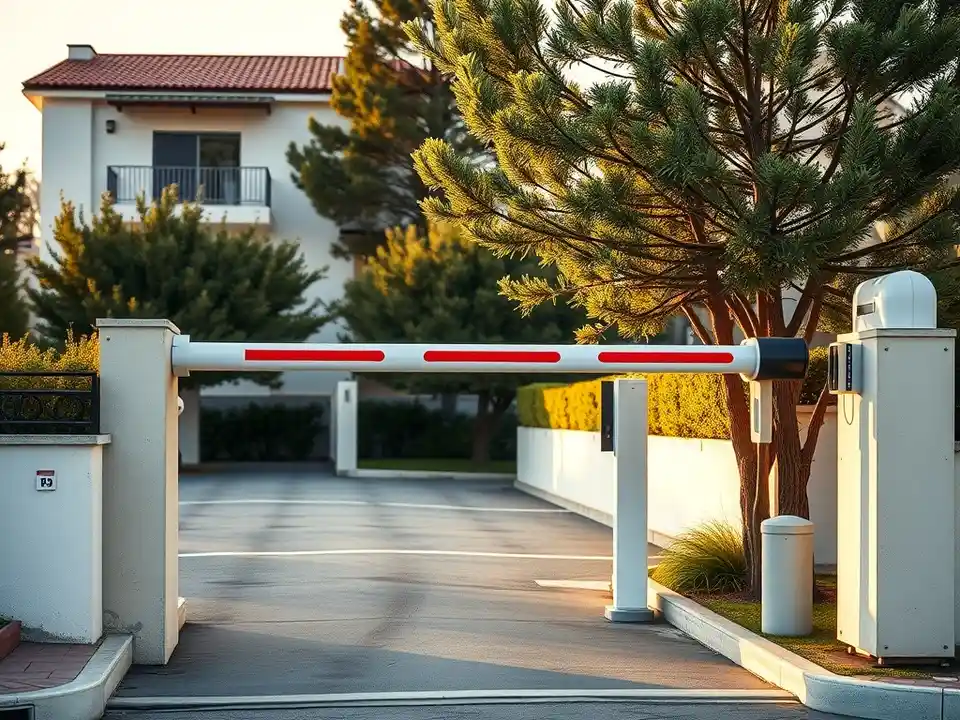
- Gate type: garden gate, garage door, barrier, automatic sliding door
- Is a new gate to be built, or will a motor be fitted to the existing gate?
- Approximate dimensions and photos of the gate
- Usage intensity: single family, residential complex or business?
- Whether you want battery backup for power cuts
2. Free site survey
The site survey is the most important stage, where the right solution is determined. The technical team inspects on site:
- Dimensions and space: The area where the gate will swing or slide, wall lengths, ceiling clearance.
- Ground conditions: Slope, ground stability, suitability for a rail or motor foundation.
- Condition of the existing gate: Whether the leaf, rail, wheels and hinges are suitable for a motor.
- Electrical infrastructure: Where the power line for the motor will come from.
- Environmental conditions: Coast, dust, wind and rainwater flow.
- Safety needs: Photocell positions, warning light, child and pet safety.
Tip: During the survey, explain who will use the gate daily and how. For example, if an elderly person lives in the house or the gate opens directly onto the road, this information affects the choice of motor and safety equipment.
3. Quote and decision
After the survey, the proposed system, options and scope are sent to you as a quote. When reviewing the quote, pay attention to:
- Motor type and suitability for the gate
- Safety equipment: photocells, warning light, obstacle detection
- Battery backup and manual release solution
- Number of remotes and additional control options
- Warranty terms and maintenance plan
4. Preparation
Some preparation may be required before installation:
- Power line: Running a suitable power line to the motor location.
- Foundation and ground: A level foundation for the rail and motor on sliding gates.
- Gate fabrication: Completing fabrication if a new gate is being made.
- Clearing the area: Moving vehicles, plant pots and other items out of the installation area.
5. Installation
During installation, the technical team:
- Mounts the motor and, where applicable, the gear rack, arm or ceiling rail.
- Positions the control unit, photocells and warning light.
- Makes cable connections protected against water and dust.
- Integrates the battery backup, if any, into the system.
6. Adjustments and safety tests
After installation, the most critical stage is adjustment and testing:
| Test | Purpose |
|---|---|
| Limit settings | The gate stops correctly at fully open and fully closed |
| Speed and force | The gate moves safely and smoothly |
| Obstacle detection | The gate stops or reverses when it meets an obstacle |
| Photocell test | Passage through the gate line is detected |
| Manual release | The gate can be opened by hand during a power cut |
| Battery test | The system switches to battery when mains power fails |
7. Handover and user training
At handover you should be shown:
- How to use the remotes and how to add a new remote
- The location and use of the manual release mechanism
- Simple checks such as cleaning the photocell lenses
- Who to contact, and how, in case of a fault
8. Maintenance and warranty
The process does not end when installation is complete. Regular maintenance is essential for the gate to work safely and last long. Our systems come with a 3-year warranty; if periodic maintenance is carried out without interruption, the warranty can be extended to up to 5 years.
Installation with REKA
At REKA Otomatik Yapı Teknolojileri, with more than 20 years of experience, we handle automatic garden gates, garage doors and other automation systems from survey to handover as a single provider, in every region of North Cyprus. Site surveys are free and we provide 24/7 service in case of breakdowns. You can leave a free site survey request or call us on +90 539 102 13 13.